
 After finishing my flower petal pillow, I started looking for ideas for the second, matching pillow. I came across this pillow at Running with Scissors and fell in love. I have been wanting to do freezer paper stenciling for a while and this was the perfect opportunity to try it out.
At first I thought I would just draw my own tree branch stencil, but after a few attempts I realized that I wouldn't be able to recreate one I liked better than the free template that Jess provided on her tutorial. I printed out the template, traced it onto the freezer paper and cut it out with an exacto knife. I wanted a slightly different bird, so I used my Cricut and the Child's Year Cartridge to cut out the bird I liked best.

After painting all of the parts onto the fabric, I used some yellow scraps of fabric I had in my fabric box to add some color to the pillow. I didn't have a single piece long enough to use so I sewed a few together and it worked great.
I used a thin brown ribbon to finish the edge between the stencil and the fabric. Then I cut some velvety brown fabric remnants I had to make a few leaves with added texture and zigzagged them around the edges.

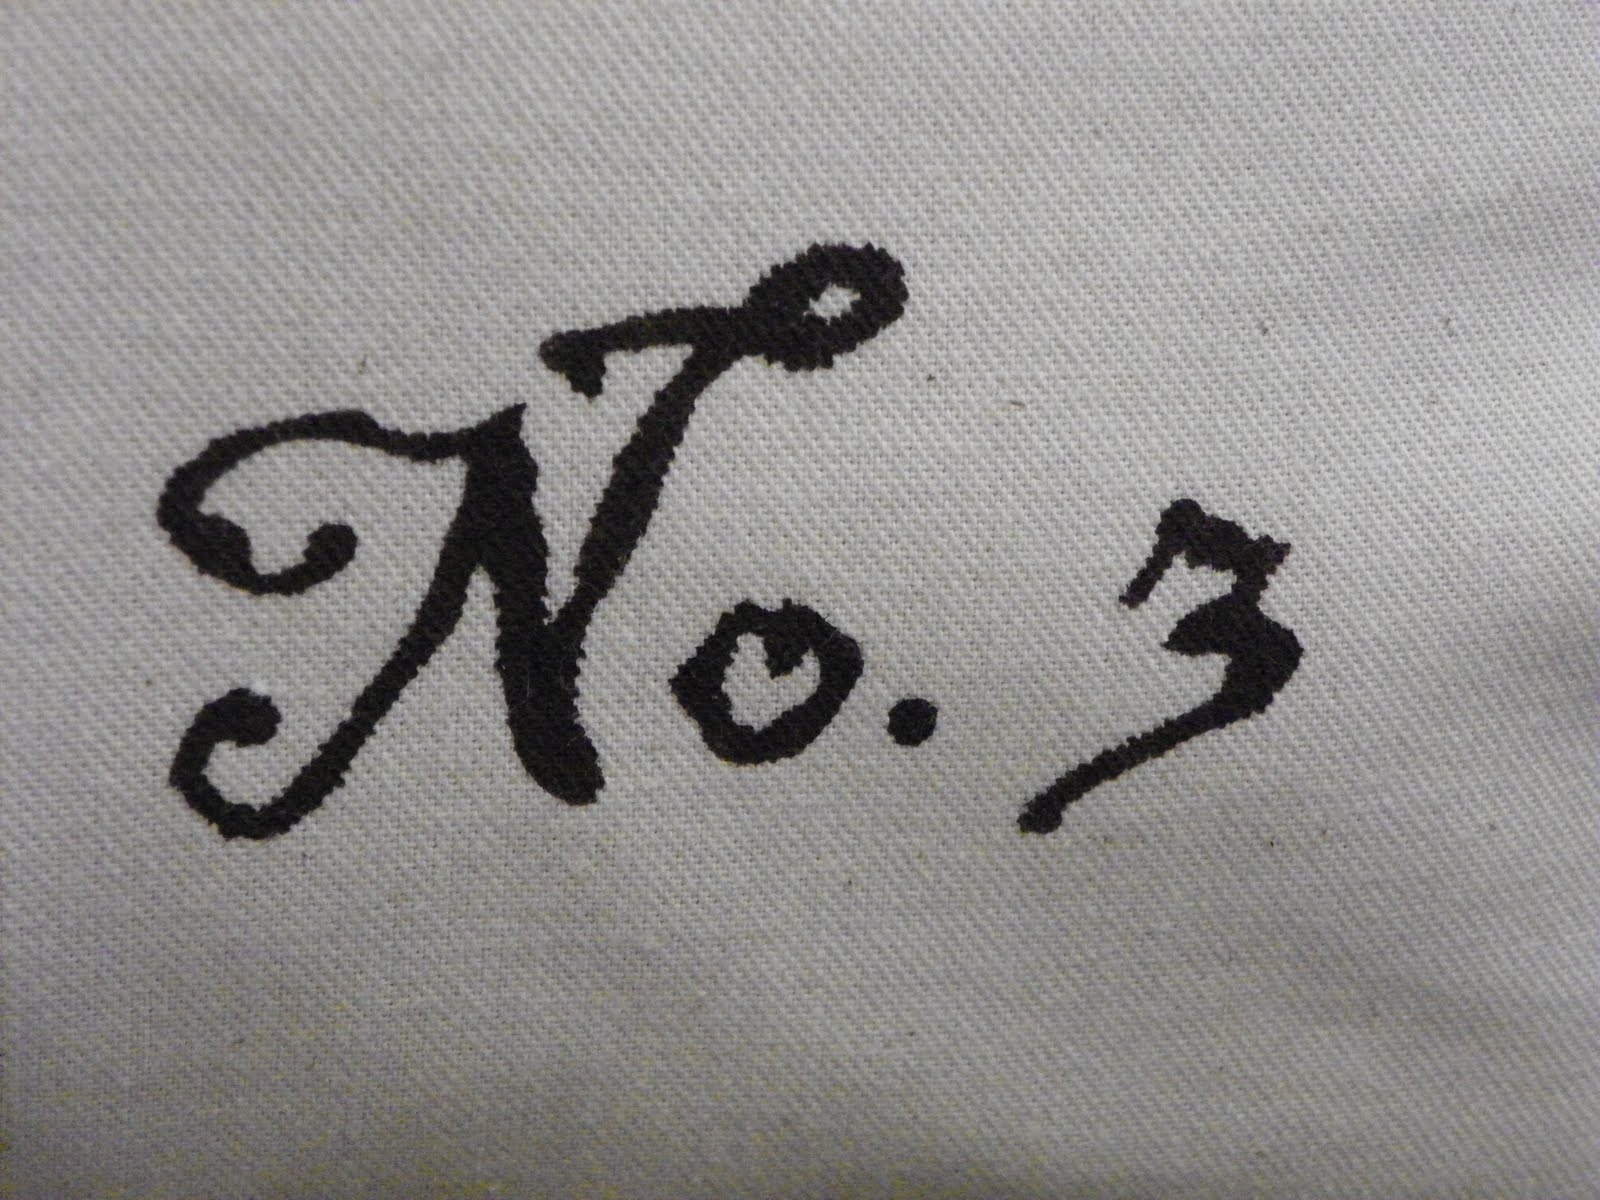
Last, I wanted to copy the detail from the pillow in the tutorial by adding the wording "No. 3" but wanted to change the font slightly. I ended up using the font 'Blackadder ITC" from Microsoft word and traced it into freezer paper and used the same method to paint it onto the pillow.
 (Note: Since this was my first time using freezer paper, I didn't have any fabric paint on hand. I decided to try using acrylic paint instead and the results were great, plus it's way cheaper. I am guessing that acrylic may dry a little stiffer than fabric paint but for this project, it didn't really matter. )
This turned out really beautiful!
ReplyDeleteConnie
Oooo, I LOVE THAT! Great job. I especially love all of the added touches you did.
ReplyDeleteI recently made the kids a bunch of freezer paper stenciled shirts. Just basic tees from Old Navy and let them choose what cricut character they wanted on them. I used acrylic paint and they turned out great. Washed up great as well. I did, however, purchase a small bottle of fabric medium in the craft paint section at Joanns. I think it was around $2. You can add a little of that to the acrylic paint and it will set like fabric paint...but MUCH cheaper than buying a bunch of bottles of fabric paint. I am going to add it to my paint next time and see if the results are different/better.
That looks awesome! I totally want one that matches.
ReplyDelete