Showing posts with label Pillow. Show all posts

Wednesday, January 25, 2012

How to Make Your Own Chevron Stencil {Freezer Paper on Fabric}

I've been needing to re-do my couch throw-pillows for a while now, but couldn't decide on exactly what I wanted to do.
So, when I came across a picture of this pillow on Pinterest, it got me to thinking...

(source)

I had already made a felt flower pillow, that I loved, but the white fabric I used as a background had been ruined my our 18 month old (blue marker and a bloody lip). So, I started brainstorming ways to reuse the flower and decided to carefully cut around the flower and restitch it on to another pillow. It worked! But I didn't want to use another plain, light-colored fabric again so I was really excited when I came across an idea on Pinterest about how to create your own Chevron stencil on a wall. It inspired me to try to put in on fabric-- that way I could get the exact color I wanted.

I made a grid on a large sheet of butcher paper and connected the corners to make the chevron pattern. Once I had a couple of lines done, I laid a piece of freezer paper over the top and began tracing, moving it up and overlaying the pattern as I went.
Once I had the whole pattern done, I used an X-acto knife to cut the pattern out, leaving the outer edge uncut so that it all remained in one piece.
After ironing the majority of it town, I trimmed the edges and re-ironed the outside edge to make sure it was on there securely.
Then I was ready to paint. (I mixed a few colors I had on hand to get the shade of yellow I wanted. I used an extra baby food jar to keep the leftover paint in for future projects.
Once it was dry, I peeled away the stencil and had a great piece of fabric that was ready to sew my flower onto. (Forgot to snap a picture of the plain material after it dried-dang it.)
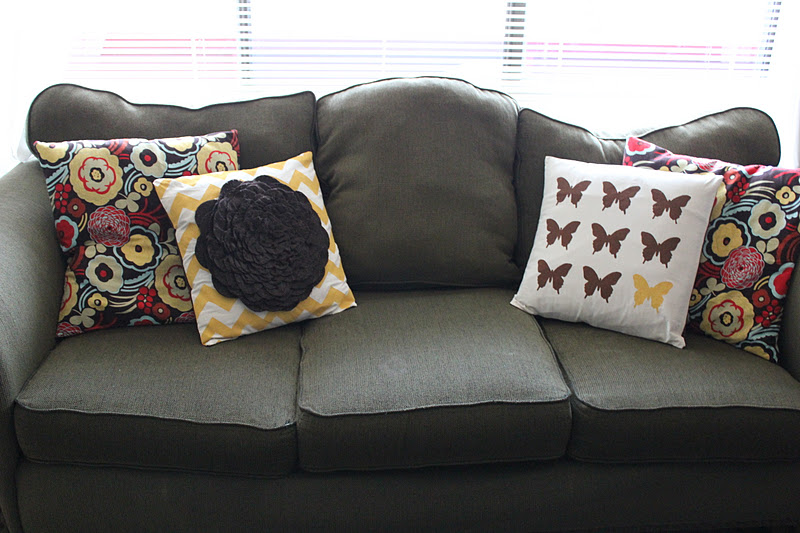
I'm really happy with how it turned out. I really like how sometimes a small change, like a pillow, can make the room feel so different. (Butterfly pillow soon to come).

Monday, April 18, 2011

Bird (Freezer Paper Stencil) Pillow

After finishing my flower petal pillow, I started looking for ideas for the second, matching pillow. I came across this pillow at Running with Scissors and fell in love. I have been wanting to do freezer paper stenciling for a while and this was the perfect opportunity to try it out.
At first I thought I would just draw my own tree branch stencil, but after a few attempts I realized that I wouldn't be able to recreate one I liked better than the free template that Jess provided on her tutorial. I printed out the template, traced it onto the freezer paper and cut it out with an exacto knife. I wanted a slightly different bird, so I used my Cricut and the Child's Year Cartridge to cut out the bird I liked best.
After painting all of the parts onto the fabric, I used some yellow scraps of fabric I had in my fabric box to add some color to the pillow. I didn't have a single piece long enough to use so I sewed a few together and it worked great.
I used a thin brown ribbon to finish the edge between the stencil and the fabric. Then I cut some velvety brown fabric remnants I had to make a few leaves with added texture and zigzagged them around the edges.
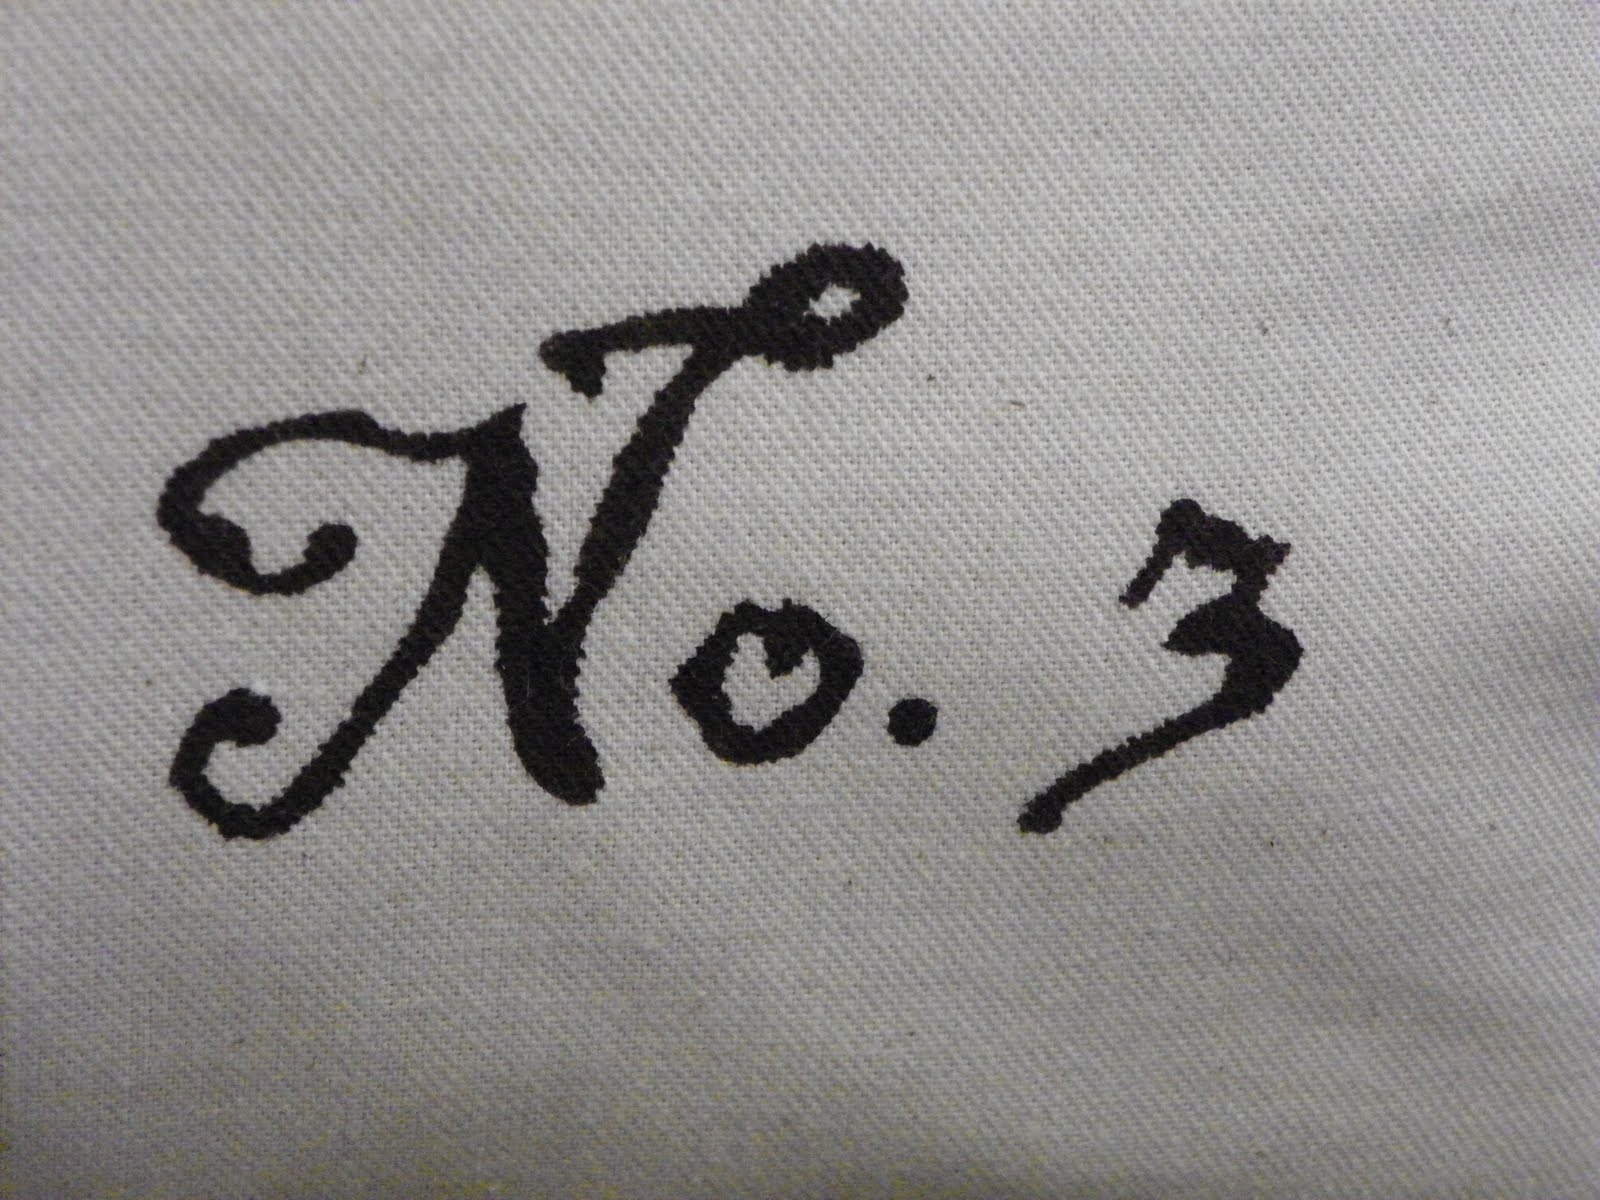
Last, I wanted to copy the detail from the pillow in the tutorial by adding the wording "No. 3" but wanted to change the font slightly. I ended up using the font 'Blackadder ITC" from Microsoft word and traced it into freezer paper and used the same method to paint it onto the pillow.
(Note: Since this was my first time using freezer paper, I didn't have any fabric paint on hand. I decided to try using acrylic paint instead and the results were great, plus it's way cheaper. I am guessing that acrylic may dry a little stiffer than fabric paint but for this project, it didn't really matter. )

Wednesday, April 13, 2011

Felt Petal Pillow

I am really excited about this pillow. I LOVE how it turned out! (Excuse the terrible photo). I found the tutorial at Cluck Cluck Sew. I love finding sewing projects simple enough for even me to handle. :) The tutorial says it takes half an hour, but it took me longer than that. If I made another one, it would go a lot faster now that I completely know what I'm doing. Also, I packed more petals in so I had to cut more circles than what the tutorial suggested. Trust me, it looks way better in person. And so easy to make! Love that.