Thursday, April 21, 2011

Easter Basket Cupcakes


We made these adorable, easy cupcakes for my daughter to bring in to class tomorrow. The original idea is from the Family Fun website. I like that this is a project that kids can help with.

I omitted the ribbon because I liked how they looked just as well without it. I used pipe cleaner for the basket handle. (Usually I don't like to use inedible things on cupcakes but I didn't think that licorice rope would hold the right shape enough and the store I went to didn't have any anyway. So I used what I had on hand. I like the look of the white anyway.


To make these cupcakes you need:

1 cake mix, prepared as directed. Bake into 24 cupcakes.
2 Tubs of frosting (there will be a lot left over but I needed more than one)
Approx. 3. cups of shredded coconut
Green food coloring
Jelly beans
Pipe cleaners (we used 12 and cut them in half for the 24 cupcakes)
Piping bag and Decorating tip #133 (for Grass)

Directions:
1. Make the cupcakes and let cool.
2. Put a thin layer of frosting across the top.
3. In a metal bowl, combine coconut with a few drops of green food coloring and mix well.
4. Bend the pipe cleaners and insert into the cupcakes- not too close to the edge or they will push outward and break the outer edge of the cupcake.
5. Place a small amount of coconut in the middle of the cupcake and spread out just a bit.
6. Pipe frosting around the edge for the 'edge of the basket'.
7. Add jelly beans and press in slightly so that they stick into the frosting to make them stick.

Enjoy!


Wednesday, April 20, 2011

Mother's Day Gifts

My daughter's 1st grade teacher asked if I would be willing to come up with a little gift that the kids could make to give to their moms on Mother's Day. I was honored and super excited. I wanted it to be relatively inexpensive and simple so I decided to reuse the HUGE collection of baby jars we have around the house and make tea light candles. I had originally planned on letting the kids etch the word 'mom' onto the jar, but then rejected the idea since that would require letting the kids use the etching cream which can be dangerous and tricky to work with. So, I switched to acrylic paint instead.
I cut out the word "mom" on contact paper using the Plantin Schoolbook cartridge on my Cricut machine. Then I peeled off the back and stuck it on the baby jar, creating a stencil. The kids hot glued the ribbon around the top of the jar and then painted the lettering on the stencil. When it was dry, we peeled off the contact paper and placed the tea light candle inside. Total money spent for 22 candles: around $1 Then we made these candy bar wrappers for their 'sweet' moms which are pretty self explanatory. We put this quote from Abraham Lincoln on the back: Then the kids put both items in a plain white paper lunch bags that they decorated, put two hole-punches on the top, tied them with curly ribbon. It ended up being what I had hoped for: inexpensive, easy, and made the kids excited to have a homemade gift for their moms.

Monday, April 18, 2011

Bird (Freezer Paper Stencil) Pillow

After finishing my flower petal pillow, I started looking for ideas for the second, matching pillow. I came across this pillow at Running with Scissors and fell in love. I have been wanting to do freezer paper stenciling for a while and this was the perfect opportunity to try it out.
At first I thought I would just draw my own tree branch stencil, but after a few attempts I realized that I wouldn't be able to recreate one I liked better than the free template that Jess provided on her tutorial. I printed out the template, traced it onto the freezer paper and cut it out with an exacto knife. I wanted a slightly different bird, so I used my Cricut and the Child's Year Cartridge to cut out the bird I liked best.
After painting all of the parts onto the fabric, I used some yellow scraps of fabric I had in my fabric box to add some color to the pillow. I didn't have a single piece long enough to use so I sewed a few together and it worked great.
I used a thin brown ribbon to finish the edge between the stencil and the fabric. Then I cut some velvety brown fabric remnants I had to make a few leaves with added texture and zigzagged them around the edges.
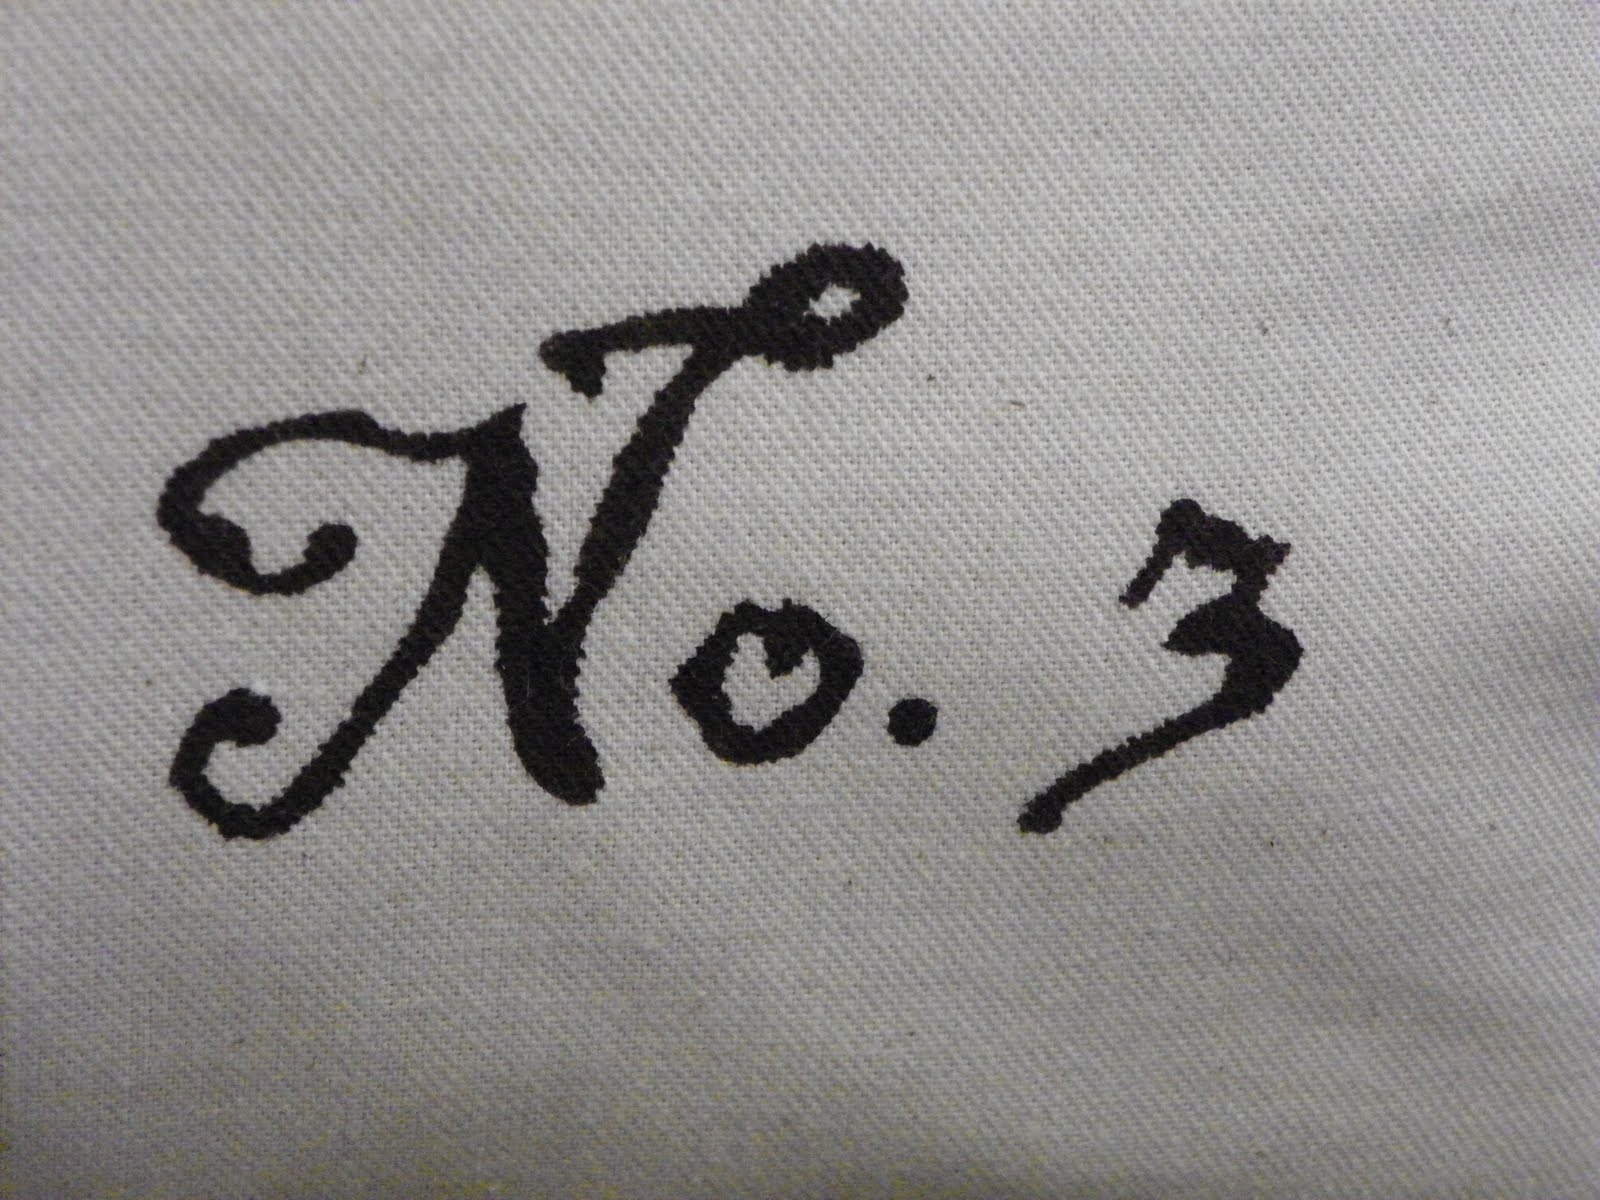
Last, I wanted to copy the detail from the pillow in the tutorial by adding the wording "No. 3" but wanted to change the font slightly. I ended up using the font 'Blackadder ITC" from Microsoft word and traced it into freezer paper and used the same method to paint it onto the pillow.
(Note: Since this was my first time using freezer paper, I didn't have any fabric paint on hand. I decided to try using acrylic paint instead and the results were great, plus it's way cheaper. I am guessing that acrylic may dry a little stiffer than fabric paint but for this project, it didn't really matter. )